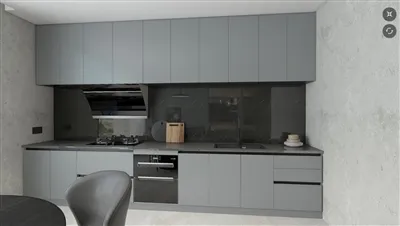
To disassemble the burner cap and pot support of a gas stove, first turn off the gas valve. After the stove has cooled down, remove the pot support, then pull the burner cap upwards. If it gets stuck, you can gently rotate it left or right or heat it to loosen it.
Detailed Disassembly Steps
Safety Preparation: Turn off the main gas valve to ensure there is no risk of gas leakage; wait for the stove to cool completely to avoid burns.
Removing the Pot Support: The pot support is usually placed directly on the stovetop and can be lifted upwards to remove it. If it is difficult to remove due to grease buildup, apply a hot cloth for 5 minutes to soften the stains, then soak it in a neutral detergent for a while before easily removing it.
Removing the Burner Cap:
The burner cap is located above the burner and can generally be pulled vertically upwards by hand.
If it cannot be pulled out, it may be due to long-term use causing the rubber gasket to stick or corrode. You can try gently rotating it left or right to loosen it, or use a hairdryer to heat the surrounding area to assist in disassembly using the principle of thermal expansion and contraction.
For split-type flame caps, note that the inner and outer rings may need to be disassembled separately; for all-copper integrated flame caps, the panel needs to be removed from the bottom screw fixing point before taking them out.